Showing posts with label recipes. Show all posts

Sunday, December 9, 2018

More Wreath-Making and Blackberry Fool

I was happy to finally make a wreath with real greenery.  I've wanted to attend the wreath making at our local history center for the past 2 or 3 years, but it never worked out.  I finally was able to attend this year, and I am really happy with my new wreath.  It looks very festive on the front door.

Also this week, the kids enjoyed friends Friday.  On Fridays, we get together with our friends and do homeschool together.  Lydia and her friend are now studying nutrition, and we added some cooking to it.  It all began with a history picture book, actually, that showed how people made blackberry fool around 1700, 1800, 1900, and today.  I had never heard of blackberry fool, but it is very easy today.  (Not so much in 1700, when a bundle of twigs was used to beat the cream.)  

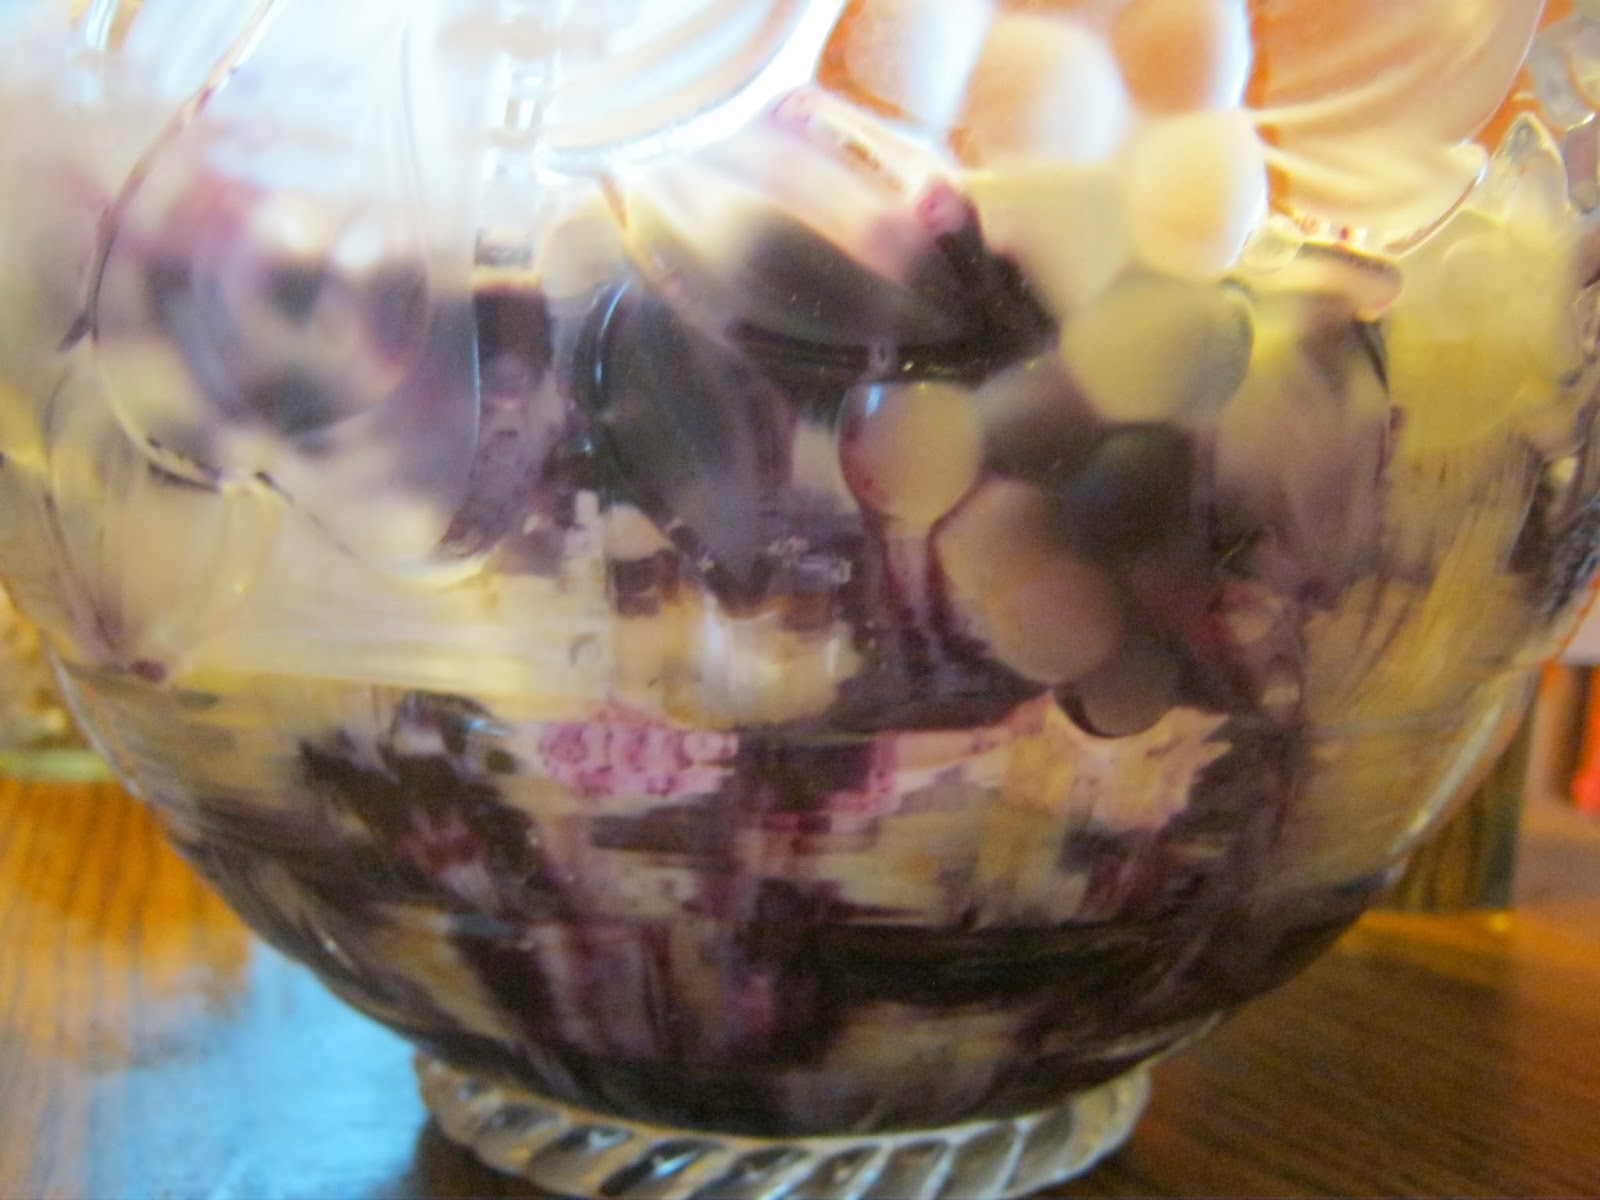
Here are the girls making blackberry fool.  Basically, they whipped heavy cream with some powdered sugar, and then they folded in smashed blackberries.  The result was delicious, and I don't even like blackberries.  It was such a hit that Lydia has already made it again.

Friday, November 20, 2015

Easy Chocolate Granola

Chocolate Granola is very popular around here.  All four of the kids like to eat it as a snack, and lately Malachi has been eating it with milk for breakfast.  It's easy and fast to make, and then it cooks at a low temp for about an hour, so I really like to make it now, when having the oven on for an hour really makes the kitchen feel cozy.

Chocolate Granola
4 c oats
1/3 c cocoa
1 c sunflower seeds or nuts, optional
1/4 c ground flax, optional
1 T vanilla extract
pinch salt
scant 1/2 c water
3/4 c sugar (brown or white, your pick)

Mix the dry ingredients together.  Heat the water for a minute in the microwave, then add sugar and stir to combine.  Pour over rest of ingredients, and mix well.  It's not very wet, just barely moist, when well mixed.  Spread on 2 baking sheets (covered with parchment) and bake at 275 for about an hour.  


Gyunay is a big fan of chocolate granola.

Wednesday, November 4, 2015

Double Chocolate Cookies

The kids had yesterday off of school, so during nap time Lydia and I decided to bake a treat.  I've been wanting to experiment with coconut oil in cookies, and we were out of butter, so it seemed like a good time to try it.  It worked really well.  These cookies use less sugar than "normal" recipes, because I regularly cut the sugar in half in recipes.  They would also be a good option if you needed a dairy-free treat, if you used dairy-free chocolate chips.  Here is the recipe:

3/4 c coconut oil, at room temp
3/4 c brown sugar (or make your own by mixing 2 tsp molasses and 3/4c sugar together)
2 eggs
1 tsp vanilla
2 c whole wheat pastry flour (you could use regular flour)
1/4 c cocoa powder
1 tsp baking powder
3/4 tsp salt
1 c chocolate chips, chunks, pieces, whatever

Cream coconut oil and sugar, then add eggs and vanilla.  Add dry ingredients, then chocolate chips.  Bake at 350 for 9-10 minutes.

Notes:
I used virgin coconut oil in this, so it gives it a slight coconut taste.  My coconut oil was solid but not rock-hard when I mixed it with the sugar.

I think it'd be really good to add some flaked coconut and nuts, sort of German-cake-like, but my kids don't care for flaked coconut.  I may try that in the future, though.

These cookies are a nice treat but are not overly sweet.  Everyone in the house loved them (well, Gyunay is not really that into chocolate cookies, but he did eat one, so I figure that he liked it ok).

This recipe only makes about 3 dozen cookies.  They are already gone.

I shared this recipe at the Homestead Blog Hop here: http://www.homesteadingongrace.com/2015/11/homestead-blog-hop-55.html#more
Homestead Blog Hop every Wednesday featuring real food recipes, natural health remedies, DIY, crafts, Gardening Tips, and more...
and at  Stangers and Pilgrims on Earth, here:
Strangers and Pilgrims on Earth

Tuesday, July 7, 2015

Cheesy Spaghetti Squash Casserole


I made this really good cheesy spaghetti squash casserole today.  The recipe that was the inspiration was here: http://www.skinnytaste.com/2013/01/baked-spaghetti-squash-and-cheese.html, but as usual, I changed a lot of things.  Here is what I did:

Ingredients:
1 small onion, diced
1 medium zucchini, grated
1 spaghetti squash, cooked and shredded
1 c milk
1/2 c water
1 c grated cheddar cheese
1 T butter
salt, pepper
1/4 c or so flour

Cook your spaghetti squash and shred it.  Then, melt butter in skillet and saute onion for about 5 minutes.  Add flour, mix well, then add zucchini, salt, pepper, milk and water.  Stir over medium heat until thickened.  Add cheese and stir to melt.  In 13" x 9" pan, combine sauce with spaghetti squash.  Bake at 350 for about 20-25 minutes.  Nathaniel, Gyunay, and I loved this.  (The older kids think squash is about the grossest thing ever.)

And check out our super three-year-old!  It's hard to believe that he's already three.  He was confused by all of the birthday hoopla, even though we kept it pretty simple and low-key for him.  Still, he handled it really well.  He had his "closed" expression quite a bit, but he still interacted and didn't get  upset over anything.  He even smiled off and on!  Since the last time we were at my parents' house, I was at the hospital for Malachi's appendectomy for a couple of days, he worried if Nathaniel or I went out of sight.  We expected him to be nervous, and he was, but he did enjoy himself during the visit, and he was genuinely happy to see all of the relatives.


Wednesday, February 25, 2015

Lemon Icing


We had to make cupcakes for Malachi's boy scout banquet, and he requested lemon.  We made the lemon cake yesterday, which is good but only a subtle lemon flavor.  Today, Lydia and I made lemon icing, which I made up on the fly and absolutely loved.  I don't like most icings, but this was really so good.  This recipe frosted 18 cupcakes.  It's easy, too:

6 T room temp butter
1 1/2 c powdered sugar
1 tsp lemon extract
lemon zest, optional
1T milk
juice of 1 lemon, added slowly

Actually, I think next time I would just replace the milk with all lemon juice.  This has a very lemony flavor, and I added the zest so people could guess the flavor by looking at it, and not think it was vanilla or regular white icing.  I think I'll try this recipe with orange sometime, since I also have orange extract.  I bought the extracts a long time ago, when the bulk store went out of business, and I've decided that they were a good buy.  They are usually pretty expensive, but a tiny bit goes a long way.  I've also wondered if I could just make more myself, when I run out...

Also, I made Malachi his chicken apron:


He learned how to fry eggs by himself, and has eagerly cooked eggs three times now.  So I rewarded him with the apron, and he promptly decided not to help make the cupcakes.  Oh, well.  At least he's willing to cook sometimes.


Sunday, May 18, 2014

Seed Starting and Kale Soup

Nathaniel took Malachi kayaking today, so Lydia and Elijah helped me start some seeds in pots on the deck.  Elijah has been very eager to get cucumbers planted, so I let him plant 3 seeds in this big planter:


Last year, we found that the trellis side of the deck works well for some plants that need that, and I think these cucumbers will do well here.  We are going to plant more cucumbers in the big garden, but it isn't ready yet.  Nathaniel is going to till it tomorrow, so I hope to plant seeds Tuesday for cucumbers, cantaloupes, zucchini, honeydew, pumpkin, and maybe butternut squash.  


\
Lydia enjoyed getting the dirt into the pots for us.  She also helped plant the carrot, dill, cilantro, and lavender seeds.  She's an eager helper in the garden.

We went to the farmer's market Saturday to pick up some vegetables.  At one booth, Malachi exclaimed, "Kale!  Mommy, can we get kale and have kale soup for dinner?"  Of course I said yes.  I'm so happy to have one of my kids get excited over kale.  Both boys love kale soup, which is easy and very nutritious.  This is how I make it:

2 bunches of kale (about 1/2 lb)
2 potatoes, peeled and diced
1 onion, diced
3 or 4 cloves garlic, minced
1 can tomato sauce
1 cup white beans
1 cup cooked Mexican chorizo (or other sausage)
splash of vinegar (optional, about 2 tsp)

Combine all ingredients in a pot and cover with water.  Bring to a boil, then simmer for at least 30 minutes.  (I usually simmer for an hour or so for more flavor.)  Season with salt and pepper to taste.

I have made this with sausage and with some of my homemade chorizo.  Nathaniel and I prefer the chorizo, but the sausage is really good, too.  I serve it with rolls or bread.  This recipe is based off of a Portuguese Kale Soup recipe from Twelve Months of Monastery Soups by Brother Victor-Antoine d'Avila-Latourrette.


Friday, February 14, 2014

Two Trifles

I've been busy cooking off and on all day.  It's Valentine's Day, after all, and I wanted a special treat for everyone.  My chocolate trifle is delicious, and it's one of Nathaniel and Elijah's favorite all-time treats, but Malachi doesn't really like it, because he doesn't like the chocolate pudding or the cherry pie filling.  So I decided to make a trifle that he should love, as well.  I made a lemon pound cake, and then I made vanilla pudding.  Now, I've been making my own chocolate pudding for a couple of years now, and everyone (except Malachi) absolutely loves it, but I've never tried another flavor besides tapioca (one of my favorites - but the kids don't like it).  So today, I tried a vanilla recipe (from here: http://heavenlyhomemakers.com/healthy-treat-for-today-creamy-pudding).  Now, I was a little leary of using eggs in my pudding.  My chocolate recipe doesn't include eggs, but my tapioca one does, and I've never ended up with scrambled eggs, but I was a bit nervous nonetheless.  Since we've still got eggs filling our fridge (thank you, chickens!) it is silly to avoid a recipe that calls for them.  I'm so glad I finally tried one.  I should have cooked it about a minute longer, to get it a bit firmer, but the taste was excellent.
I made the trifle in the typical way, by layering cake, pudding, pie filling, and whipped cream.  For one, I used the lemon pound cake, vanilla pudding, blueberry pie filling, and whipped cream.
  For the other, I used chocolate cake and pudding, cherry pie filling, and whipped cream.
Both were delicious.  Four of us loved them.  Unfortunately, Malachi really was unhappy that I chose to make blueberry pie filling and didn't really give it a good try.  The one he tried and liked (about 6 months ago) used strawberry, but he always prefers blueberries, so I was trying to make him happy.  He didn't handle the change as I'd hoped.  
Maybe he'll try it tomorrow.

Monday, November 4, 2013

Yeast Rolls

 I love rolls, and I'm certainly not the only one around here.  Normally, I make whole wheat rosettes or sourdough rolls or oatmeal molasses rolls, but every once in a while I'll make white rolls.  It's pretty much celebrated like dessert (and probably about as healthy).  Nathaniel and Elijah are especially fond of the puffy white yeast rolls found in restaurants, so when I saw this recipe, I decided to try it. (http://gracefullittlehoneybee.blogspot.com/2013/10/45-minute-yeast-rolls.html#comment-form)
I did modify it, though, because you know I can't help myself.  It took just under an hour start to finish, which is really quick for homemade rolls.  Here is the recipe I use:

1 c plus 2T warm water
1/3 c melted coconut oil
2 T yeast (I've used active dry and instant.  Both work.)
scant 1/4 c sugar

Mix these together and let sit for 15 minutes.  Then add:
1 egg
1 1/2 c white whole wheat flour
2 c bread flour
1 1/2 tsp salt (I used sea salt.)

Knead a bit until soft and smooth.  Then make it into 20-24 little balls and put in a greased 13" x 9" pan.  Let rise about 15-20 minutes.  Bake in a 400 oven for about 15 minutes, until lightly golden brown on top.  Enjoy!  These are really fabulous served with soft honey butter.  The boys and I devour these pretty quickly.  (Lydia doesn't eat rolls much.)

Also, I wanted to share the doll cape I made:


I made one last year that didn't have a hood, but this year I wanted to make a hooded one, and I adjusted my (homemade) cape pattern to add the hood.  I think it turned out so cute!  I sold the other one I made, and I hope this one sells, too!  Nathaniel wants me to make a kid-sized one for Lydia.  I think it'd be so cute, but I'd want to use a different fabric.  The doll one is fleece, but I was thinking maybe a twill or something.  I don't know.  Maybe I'll have to explore the fabric store again! :)

Thursday, October 31, 2013

Cinderella Pumpkin

I've talked before about how I grew a Cinderella Pumpkin in the garden this year.  Usually they are quite large, but mine was about the same size as a pie pumpkin.  I decided to cook it yesterday, and I was pleasantly surprised by how very thick the flesh is in this pumpkin.  The seed cavity is very small, and although this pumpkin was only about the size of a pie pumpkin, it gave me more puree.  Usually, I count on getting between 2 and 3 cups of puree from a pie pumpkin, but the Cinderella gave me a about 4 1/2 c.  I saved some of the seeds so I can grow more next year.  I think I need to put some compost in the soil at planting time, and maybe my pumpkins will be even bigger.  But even if I get small ones again, it is still a large quantity of good quality puree.

I used a cup of the pumpkin in beef and barley stew last night (http://barefootkentuckymama.blogspot.com/2013/01/beef-and-barley-stew.html) and I plan on making pumpkin muffins today with another cup (http://barefootkentuckymama.blogspot.com/2010/09/pumpkin-muffins.html).  I need to make a dessert for the church bazaar, so I think I'll make a pumpkin roll with the rest.  I really do love cooking with pumpkin, and I've found that there are a number of things I like to use it for!

And yes, I realize that it's Halloween!   The boys are excited that they get to dress up for school today.  Technically, it is "book character" dress up day, but since Elijah is Harry Potter and Malachi is Hedwig (Harry's snowy owl), they can wear the costumes they plan on wearing for trick-or-treating anyway.  I will post more costume pictures this weekend.  They have postponed trick-or-treating here until tomorrow night because we are supposed to get some really bad weather this evening.  The kids were disappointed, but not too much, since it's just a one day delay.  And they won't have to worry about getting to bed at a reasonable time, either, since it won't be a school night.  So, Happy Halloween everyone!


Saturday, September 14, 2013

Strawberry Maple Ice Cream

Nathaniel got me an ice cream maker for my birthday, and he gave it to me early so we could enjoy homemade ice cream while it's still hot out.  I've made some fabulous ice creams!  Homemade is so much better than anything you can find at the store.

Nathaniel has always loved strawberry ice cream, so it was at the top of the must-make list (along with chocolate chip cookie dough for the kids and dark chocolate and peanut butter for me).  I've never really cared much for strawberry ice cream, until now.  This is fantastic!  I adapted the recipe that comes with the Cuisinart ice cream maker, and it is so good.  It makes 2 quarts.

First, take 3c sliced strawberries and mix them with 1/2 c sugar.  Let them sit and get juicy, about an hour.  Then puree.  Add 2 c heavy cream, 2 c whole milk, 1 c maple syrup, and 1 tsp vanilla.   Make according to your ice cream maker's instructions and enjoy!

Saturday, April 20, 2013

Purple Muffins

No need to adjust your monitor; these muffins really are that bright, neony purple (and no food coloring).  Have you guessed yet how they got that color?  My kids didn't, so that was probably a good thing.  Nathaniel, Lydia, and I really enjoy these muffins.  The boys deemed them "ok," and they ate some for snack.  That's a pretty solid review from this household!

Purple Muffins

1 egg
1/2 c applesauce
1 T olive oil
2 T water
1/2 c sugar
1 tsp vanilla
1 1/2 c wheat flour
1 T wheat germ
2 T ground flax seed*
1/2 tsp salt
2 tsp cinnamon
1/2 tsp baking soda
1/4 tsp baking powder
1/2 c mini chocolate chips (or regular ones)
1/4 - 1/2 c blueberries
3/4c grated beets (about 1 medium beet, peeled and finely grated)

Mix it all together.  I add the blueberries last so that they aren't all totally smushed.  Bake at 350 for 12 minutes for mini muffins or 16-18 minutes for regular ones.

* I have been experimenting with adding fiber to our diets, and ground flax seed is good for that and other reasons, but if you don't have any, you can leave it out or substitute a bit more wheat germ.

Friday, February 1, 2013

Grandmommy's Pot Roast

I was going through some of my recipes a few weeks ago, and this one popped up as something I'd like to try.  I copied several recipes from Grandmommy's box when she died, and this one looked good even though I don't remember eating it.  Now I realize why: when I was describing the recipe to my dad, he said she used to make it when he was little, but stopped after Ann got the stomach bug after eating it as a teenager.  She'd whine that she couldn't stand the smell of it, so Grandmommy stopped making it when Dad was about 10.  Dad also said she called it Swiss Steak, but it's not what I grew up calling Swiss Steak (that's a different excellent recipe from my Mom and Mamaw).  Anyway, I made this pot roast, and Nathaniel said it "is what heaven tastes like" and requested it once a week.  I don't know about that, but I've made it twice now in 2 weeks, so he's pretty happy.

Grandmommy's Pot Roast
2 T flour
1 (4lb) beef roast

Coat beef with flour, sprinkle with salt and pepper, and brown in heavy large pot.  Slip rack under meat (I don't have a rack, so I actually skipped that part).  Add 1c canned tomatoes (I added the whole can of petite diced), 1 c water, 2 cloves minced garlic, 1 T salt, 1/2 tsp pepper.  Cover and simmer 2 hours.  Combine 1 c sliced onions, 1/4c vinegar, 1/4 c lemon juice, 1/4 c catsup, 2 T brown sugar, 1 T Worcestershire, 1 tsp mustard, 1/4 tsp paprika.  Pour over meat, cover and simmer 1 to 1 1/2 hours.  After simmering so long, the sauce gets nice and thick.

Serve with mashed potatoes for that great sauce.

*I only used 2 tsp salt.

Saturday, January 19, 2013

Chocolate Cinnamon Bars


Mmmmmm!

This recipe was originally my Grandmommy's, although I don't recall eating these as a kid like I do some treats.  My mom and sister rediscovered this recipe when my aunt made them a couple of years ago, and I've been meaning to try them.  I finally did, and they are wonderful!

2 c flour
1 tsp baking powder
1 c sugar, divided
1 T and 1 tsp cinnamon, divided
1 c soft butter*
1 egg
1 egg, separated
1 package chocolate chips (I use dark chocolate)
1/2 c nuts (I use pecans)

Mix butter, 3/4c sugar, egg and egg yolk.  Add flour, baking powder, 1Tcinnamon.  Spread into greased 13 x 9" pan.  Beat the remaining egg white slightly and brush over mix.  Combine remaining 1/4 c sugar and 1tsp   cinnamon and sprinkle over top.  Sprinkle chocolate chips and nuts.  Bake at 350 for 25-30 minutes.

*My butter wasn't getting soft, so I melted it.  It worked fine.

I made these to take to a church dinner tonight, but I let everyone try one first.  They are delicious!  (And I put them on a platter so no one can tell that there are some missing!)  The bars cut easily and stay together for serving, but they crumble and melt in your mouth.

Disclaimer for those that have the original recipe: I swapped butter for the shortening and reduced the sugar by 1/3c.

Sunday, January 6, 2013

Beef and Barley Stew

Beef and barley stew is one of the most comforting foods I make in the winter.  I've never put the recipe on the blog because it does take a while to make, but it is so worth it.  I often make it on lazy days when I'm home all afternoon, because then it's not too hard to remember to stir it every once in a while.  I first came up with the recipe when we lived in the apartment, about 4 years ago.  So here it is:

Start with 1 1/2 to 2 lbs of stew meat, cut in bite-sized chunks.  Sprinkle it with salt and pepper and dredge it in some flour, then brown it in oil in the bottom of your stew pot.  Take the meat out, add about 2 T oil and 

1 chopped onion
1 diced carrot
1 diced rib of celery
4 chopped garlic cloves

Cook these vegetables for about 5 minutes on med heat, stirring often.  Then put the meat back in and liberally sprinkle everything with worchestershire sauce, salt and pepper.  I also add about a teaspoon of Italian seasoning.  Add enough water to cover.  (Add Optional nutrition boost: 1 c pureed pumpkin.)  Then bring it to a boil, reduce heat, cover and simmer for about 2 hours, stirring occasionally.  You can cut this time frame shorter or make it longer without real problems.  Then add:
1/2 c barley (pearl)
1/2 - 1 c water
4 potatoes, peeled and cubed
3 carrots, peeled and chopped
1 can of peas 

Bring back to a boil, then reduce heat, cover and simmer for 45 min or more.

It's a very yummy comfort food perfect for cold days.  It reheats well as leftovers, but I don't freeze it because the texture went kinda funky on me once.  I love that it is packed full of vegetables, but it tastes so beefy that it's one of Nathaniel's favorite meals. 

Sunday, August 26, 2012

Lard

Odd title, huh?  Well, I spent Friday rendering lard for the first time.  Sounds tricky, doesn't it?  It couldn't have been easier.

I bought a big bag of lard (pork fat) a while back and stuffed it in the freezer until I had time/energy to deal with it.  Well, it sat there for nearly a year before I bothered to figure out how to deal with it.  See, I like to make tamales, and to make tamales, you need lard.  Real lard, not shortening or butter or anything else.  Also, I love it for making tortillas, and I've been told that fries are wonderful cooked in lard.  I knew you had to "render" it to make it smooth and ready for use, but I had to go online and check out how to do that.  I found some examples on some real food blogs, and wha-la, I made lard.  All you do to render lard (or tallow, if you have that) is dump it in the crockpot and cook it on low for hours.  Seriously.  The hard chunks of fat melt into liquid, and the unusable bits stay solid.  Strain and put in jars.  Cool and refrigerate or freeze.  The most time consuming thing was straining it into jars.  I got 5 pint jars of lard for one large crockpot full of pork fat.  

Tonight, I'm making fries.  


Friday, August 24, 2012

Tomato Squash Bake

At my farmer's market, there's a really nice lady that grows unusual things.  She gave me a recipe for an edible gourd bake, using the Italian gourd cucuzzi.  Since that is the only cucuzzi I have ever seen, I adapted the recipe for yellow squash.  (Plus, the cucuzzi had some pretty annoyingly hard seeds.)  But this casserole is really good!

2 squash, peeled and sliced
about 3 tomatoes, sliced
1 onion, sliced thin
1 garlic clove, minced
thyme, about 1 tsp dry or 1 T fresh
2 pieces of bread, preferably wheat
parmesan cheese
1 T butter or oil
pepper

First, saute the onion in the butter.  Add the garlic just at the end, for about a minute, so you don't burn it.  Set aside.  Cover the bottom of a greased 9 x 13" pan with your squash slices.  Top with tomato slices, then top that with the onion.  Sprinkle pepper and thyme on top.  Tear the bread into little pieces and spread them over the mix and liberally coat the top of everything with parmesan cheese.  I think the original recipe called for 1/2 c, but I never measure cheese.  Bake in a 425 oven for about 20 minutes.  It's done when you can pierce the squash with a fork easily.

TPS:
* cut your squash and tomato slices about the same thickness.  Mine were probably 3/4".
* You can halve or double this recipe easily.  To halve, just put it in an 8" pan.  To double, layer the ingredients again and bake for about 30 minutes.

Since we've had cooler mornings this week, I made this for my lunch and was very happy with it!  (And that's a good thing, since I'm the only one who would eat a dish like this in my house.)

Tuesday, August 7, 2012

Mini Almond Cheesecakes

Normally, I don't do a lot of baking when it's over 90 degrees, but tomorrow we are going to a church dinner, and I am bringing dessert.  So first, I made chocolate cupcakes, which thrills my kids but not me.  Then I was looking at my mini cherry cheesecake recipe and decided to try a new version.  I love the original version, and they are perfect for get-togethers because you basically have a bite-sized dessert with no utensils needed.  However, the originals have a chocolate crust, and although I don't think there is such a thing as too much chocolate, I thought it might be wise to make a dessert that didn't involve chocolate for those that aren't big chocolate fans.  So then I tweaked the whole recipe, just for fun.  Here is what I did:

First, I mixed 1 1/2 c graham cracker crumbs with 2 T water and 1 stick of butter.  (I do think I could have used a tablespoon or two less of butter.)  I then pressed this mixture into the bottom of my mini-muffin pan:

Next, I mixed together the filling: 
1 package (8oz) cream cheese, softened
1/4 c brown sugar
2 T milk
1 T almond extract
1 egg

Mix it well.  Then spoon some on top of each little crust.  Try to refrain from tasting it too much, because I had just enough to fill the 24 mini muffin cups.  Finally, bake at 325 for 15-18 minutes.  Enjoy!


Note: I think it would be good to have some chopped almonds on top, but I didn't have any.  Also, you will lose a little crust when you get them out of the pan, but not enough to make a difference.  

Monday, July 9, 2012

Natural Food Colorings

OK, this may be kinda weird to you, but I've been avoiding food colorings lately, so today when Malachi got out his Kwanza book and wanted to make the cookies in it, I decided to try and color the icing with natural food colors.  I know that doesn't make the sugar-laden icing healthy, but I know that food colorings have been linked to making kids with attention problems struggle more, and we all know that one of my kids is always off in his own universe, so I figure it's worth avoiding but not prohibiting.  Make sense?  No?  Oh, well.  Anyway, here is what I did:
I cut a small beet in half and added about 1/4c of water and then I nuked it for 2 minutes in the microwave.  I added a small amount of the liquid, about 1/2 tsp, to some icing (about a tablespoon).  It made a lovely baby pink color.  It actually doesn't show up as pink in the picture as it really is:
 For the yellow, I added just a pinch of turmeric to some icing.  I wondered if the taste would be off, but there's just so much sugar involved that you really don't taste the turmeric at all.  For the brown, I added a bit of cocoa.  Later on, we mixed the pink with some yellow for a nice light orange, but I don't have a picture of that one.

Malachi and Lydia really had fun decorating the cookies using the icing and toothpicks.  (Note: toothpicks take a long time, so it was good for stretching the activity!)
I also made rolls today, and so I let each of the kids have some dough to shape however they wanted.  That was a hit; even Elijah joined in.

Malachi made angry birds, Elijah made R2D2, and Lydia made a pancake.  

Tuesday, January 17, 2012

Homemade Cream of Celery Soup

Missy, this is for you.  :)

I've been making cream of mushroom for a while, but I never tried cream of celery.  I played around today, and came up with a recipe for a good cream of celery.  It's lighter and uses little salt.  It makes about 3 cups.
You need:
1 bunch of celery, diced (even the leafy bits)
4T olive oil, divided
1 1/2 c chicken stock (or veggie stock, if you wanna go vegetarian)
about 3/4 c milk (I used whole milk)
1/2 tsp celery salt
generous sprinkle of pepper (1/2 tsp?)
1/4 c white whole wheat flour

In a skillet, saute celery in 2 T oil for a few minutes.  It will still be fairly crisp, but somewhat cooked.  Add rest of oil and flour and spices, making a roux.  Add chicken stock and scrape bits off the bottom of the pan.  Add milk.  Turn off heat.  Use an immersible blender to puree.  (Mine still has some small pieces of celery; it's not totally pureed.)  That's it!  Here's a picture, but keep in mind that cream of celery has never looked too appetizing:
I used mine in some chicken tetrazini.  Yum.  I don't know if it will freeze well or not. 

Thursday, November 10, 2011

Chili and Misc

Well, Nathaniel's back for a few days.  The kids are so happy.  I've been busy sewing and adding to my etsy shop in between managing everything else. 
Yesterday it was rainy and windy....and a perfect day for chili!  I used to always make my mom's chili recipe (with my Grandmommy's elbow macaroni thrown in) but we've moved so much that finding the brand of chili mix she uses is not always possible.  So I've tweaked it and made up my own, which is very similar to Mom's but also adds some more vegetables (which no one around here has noticed!). 
So here it is, basically:
2 c pinto beans (mine were cooked from dried, but canned works just as well)
2 cans red beans
1 lb ground beef
1 onion, diced
1/2 of a bell pepper, minced (Lydia and I ate the other half raw.  Use red if you want it to blend in better.)
1 c pumpkin puree (No, really, no one will taste it!)
1 c tomato sauce
1 or 2 garlic cloves, minced
about 1 1/2 c elbow macaroni
1 T taco seasoning
2 T chili powder

Brown the ground beef and onion in the bottom of your soup pot.  Drain if necessary.  Add spices, garlic, pepper, pumpkin, and tomato sauce and stir well.   Then add beans and water, about 3 cups, but more if you like your chili less thick.  Bring to a boil and then simmer, for any time from 10 minutes to all day.  (If you go for a long time, you'll have to occassionally add more water.)  About 15 minutes before serving, increase heat to high and add a cup or two of water and the macaroni.  Serve when the macaroni is cooked.  For really good chili, add shredded sharp cheddar cheese to each bowl.  Yum!
Notes:
I make my own taco seasoning and keep it in a container in the pantry, but you can use ready-made just as easily. 
I use wheat elbow macaroni.
My pumpkin puree is homemade, but again, canned works great.  I often have an extra cup because like the store bought kind, I usually have 2 c per container and I often use 1 c for pumpkin muffins and then have 1 c leftover.  Pumpkin really is a powerhouse of nutrients, so I like to put it in things.
I always make my chili really thick, so add more water if you want it a little more soup-like.
You could easily use the whole bell pepper, it's just that Lydia loves raw bell peppers right now.